Knitting Poppies for ANZAC Day

ANZAC Day, in Australia, is a significant day of observance and reflection to honour the sacrifices made by our soldiers to ultimately provide us with the lifestyle and freedoms we enjoy today. A beautiful way that craft has been involved in ANZAC Day is through the 5000 Poppies Project. Knitting poppies for ANZAC day is a way of remembering, honouring and thanking our service men and women.

In 2019 I was lucky enough to be involved with assisting in creating one of these amazing poppy groves of knit and crocheted poppies. I knit many flowers, but also helped in “planting” hundreds of poppies into a beautiful display.

Take the time this ANZAC Day to reflect, by knitting your own poppy.

Pattern to knit your own poppy

My version of this pattern is based on Lynn’s Easy Knitted Rib Stitch Poppy. I have modified the instructions to include three colours, rather than attaching a button or felt for the centre.

Materials

– 8ply/DK yarn in three colours: Red, Black and Green
– 3.75 or 4mm needles (you want quite a tight gauge)
– darning needle

Instructions

With red yarn cast on 52 stitches, using the long tail cast on
Knit 4 rows of 2 x 2 rib
Cut red yarn, leaving a tail for weaving in

Join black yarn
Knit 1 row of 2 x 2 rib
Next row, k2tog across entire row
Cut black yarn, leaving a tail for weaving in

Join green yarn
Knit 2 rows of k2tog across the entire row (when there are an odd number of stitches knit the last stitch)
Cut green yarn and thread through remaining stitches and pull to form the centre of the poppy.

Finishing
Stitch the side seam, using the black and red tails to join those sections to form the flower.
I attached a safety pin to the back of mine, so I could wear it on ANZAC day.

Knitting Poppies for ANZAC Day Read More »

4 Reasons to re-knit a pattern

What makes a pattern worthy of knitting more than once? Recently I looked over my completed projects and realised that there are quite a few things that I have made multiple times. This had me thinking, why? What makes these patterns or the finished object so knittable? Especially when there are so many more different patterns out there to choose from.

Here are my 4 reasons to re-knit a pattern…

  1. Functionality
    You find something that just works! The heel that fits your foot, the beanie that sits on your head just right or the scarf that’s the perfect balance between dressy and practical. When you know it is going to fit and be worn regularly you are more inclined to knit it. It makes more sense to grab that reliable pattern and make a version in a different colour than searching for a new pattern that may not be as good.
  2. Simple
    A project that requires minimal to no pattern reading, or something that is quite rhythmic. Simple will mean different things to different people or even to the same person over time. To me it is a good tv project, something to keep my busy hands but my brain can wander.
  3. Interesting or engaging in some way
    Sometimes we like to be tested and involved in our craft. Something with a special technique, colour changes or patterning. A lace edging that really pops, or cables and textures. Something that creates a challenge if one is required and also can provide motivation to progress to the next point in the pattern.
  4. The finished item
    Sometimes something is just beautiful or loved by family and friends. The perfect baby hat and booties or a shawl that everyone asks about when you wear it.

Then there are also some practical reasons; like already owning the pattern, having the right yarn in stash and needles ready to go. Are you interested in what I have made more than once? I have made a folder in my Ravelry pattern library if you would like to check them out.

4 Reasons to re-knit a pattern Read More »

Creating repeatable colours – how I record my recipes

A big part of selling hand dyed yarn is being able to produce and sell the same colour. It’s one thing to create colours, it another to properly record recipes and be able to repeat the same results over and over.

There are of course dyers who only produce one of a kind colours, which is fun and creative, but this creates extra work in terms of shop photography and description writing. It also means that if the colour created is something beautiful and popular it is then difficult to go back and try replicate it. So even when I am playing around, I make notes as it could end up being something amazing.

When I started Passioned Flower my intention was to create colours that stemmed from the things that inspired me. I wanted to make colours that represented me and that I could repeat and build on over time. That is why even from the very beginning I recorded the process for each colour that I created.

[embedyt] https://www.youtube.com/watch?v=GkwiFbN-ngw[/embedyt]

So what is my process and how do I keep records to make sure I can repeat my colours?

It starts with the dye solution. Each time I make a batch of dye stock I use the same measure of powder to water ratio, I use warm water to dissolve the powder and mix it thoroughly before pouring it into their storage bottles. Next is the water in the dye pot. I measure the water and the vinegar into the pot, recording the quantities and other details, like if the water is heated before starting, or if I start with cold water. Sometimes I add colour to the water first, other times the yarn goes in and then the dye is added. All of these small factors can have a large impact on the end result.

At each step I write down what I do – in a notebook – I can write, scribble, draw images of how the yarn is laid out and on which sections I place dye. In some cases, when I have a very clear idea of what I’m going to do I may even pre-write out the dye steps and colour mixes and then adjust or edit these as I see how the yarn is turning out.

Often I will mix colours before adding them to the pot. As I have explained previously, I use only 14 dye powders and create colours by mixing the stocks together. Each new colour is written down, detailing the amount of each used.

At each stage I take photos and write comments on my notes. This has led to the creation of other colours, as sometimes along the way I create a colour that I would like to use for something else or in a different way.

Once I have finished dyeing, the colour is set and the yarn is dried. It’s really only after the yarn is dry that you can see the finished colours properly. This is when I knit a sample with the yarn (the same sample I knit for each of my colours). I decided that I wanted a slightly interesting pattern, so that one day I might be able to turn all of my samples into a blanket. I use the motif from the Bloom Shawl. It is a fairly quick square that shows off the yarn in lace and also in plain knitting. The sample is for a few reasons; to see how it looks worked up; to keep a record of the colour as reference for the next time I dye it and to use on my website as the colour swatch.

behind the scenes taking photos of knit sample swatches

At this point the colour may be finished and ready to become part of my range or I might want to try again, making some adjustments to get the colour just how I want it. Of course this then requires more notes, and another sample.

Once I am happy with the colour I then record all of the details in OneNote. Each colour is sorted into an inspiration category and has its own page where I list out all of the details that I jotted in my paper note book. I also upload photos and draw in diagrams using colours and arrows to record every detail I can about how I created the colour. The reason I try to make these as detailed as possible is because it might be a long time between dyeing up a particular colour, so in order to get it as similar as possible every detail and step needs to be done as close to the original version as possible.

An example of how my recipes look in OneNote (**not a real recipe**)

When I am dyeing from a recipe, I use my iPad to read the OneNote files. I can set the iPad above my dye pots, so I can easily see it as I work. I can then also flick between recipes as each colour is saved by its colourway name. I keep my original paper notes safely in my desk, away from the mess of water and dye. Every scribble and note made it kept in case I ever need to refer back – either to double check that I am following the right steps or to use my notes to create something new.

Creating repeatable colours – how I record my recipes Read More »

2020 – Quite the year!!

I am not one to set new years resolutions, I don’t like the idea of an arbitrary date that becomes the centre for all habits, activities and goals. It feels like a failure waiting to happen, not only are there so many external factors that can influence our successes (a global pandemic being a prime example of this) but also we are constantly changing, growing and developing. A resolution set on the first day of the year can quickly become redundant or irrelevant.

Instead, at the end of each year, I like to take some time to reflect on what I’ve achieved and the good things that happened, so that I can to build on the good and make improvements for the future. I think that by looking back at the year with gratitude and pride for what I’ve been able to accomplish puts the year into perspective and stops it from just flying by in a bit of a blur, instead it’s a way to take stock, pause and appreciate achievements both big and small.

2020 was definitely a challenge! Strange because it has been a universally shared challenge, yet we all have our own version and variation of what it was like and what it meant to us.

I found it a very exhausting year. Despite being locked down for much of it and not able to go out or socialise it was mentally tiring. The thought of COVID was always there in the back of my mind, and made even the shortest and normally most mundane trip to the local shops quite the excursion. There were times of isolation, uncertainty, and anxiety but there was also a lot of laughter, excitement and new experiences, quiet meditation and farm work.

Overall my 2020 was good, positive even. I took control of the things that I could control, and tried to keep my focus by writing lists and keeping a daily routine. I tried not to get too bogged down in the news and social media. Being on the farm may have made this easier as most of the time I was able to live in my own small bubble, go for long walks without a mask on and have the space and quiet whenever I wanted it.

As a family we created a routine to make the weekends feel different and special. Bigger sit down breakfasts, spending time together outside working on the farm and different evening activities like board games, dancing, movies, lego competitions, and dress ups.

I feel like I was able to achieve a lot in 2020.
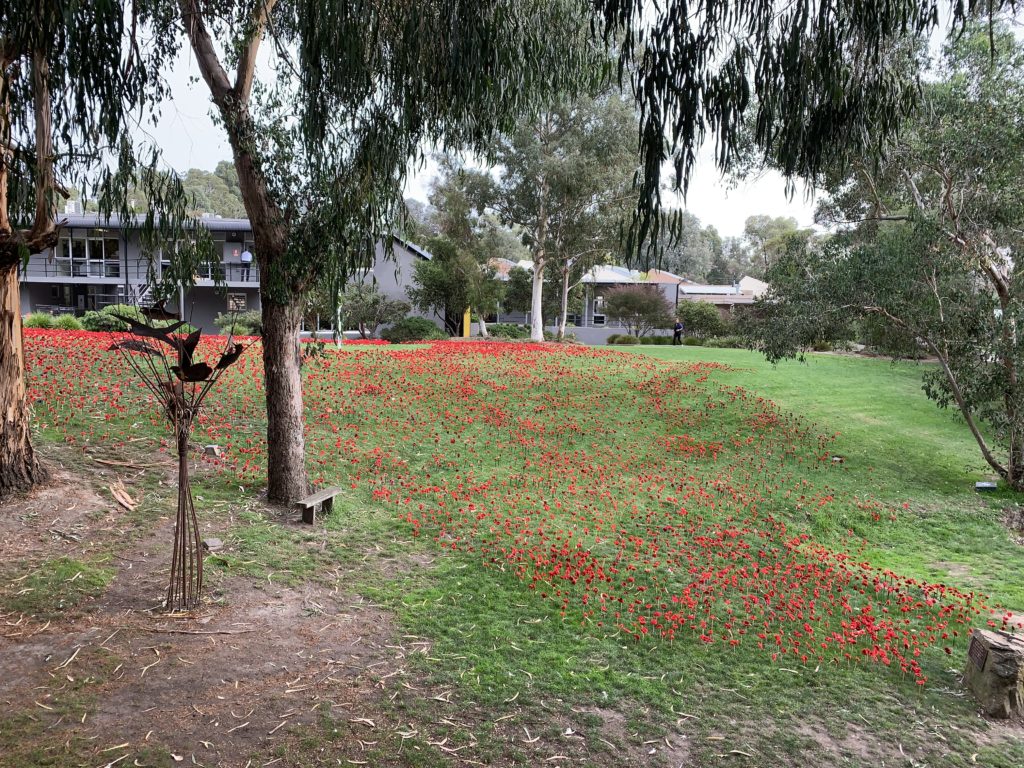
Farm Life:

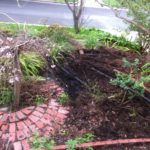
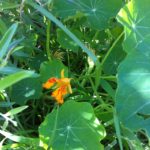
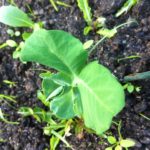
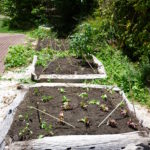
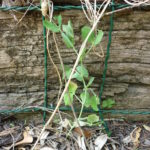
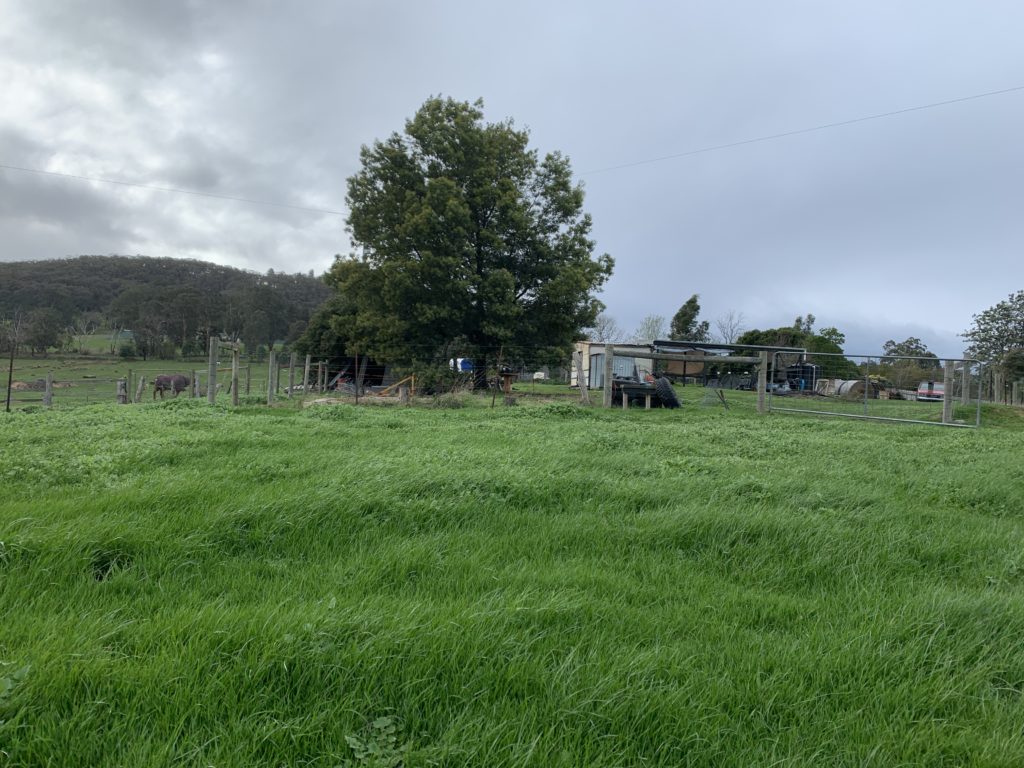
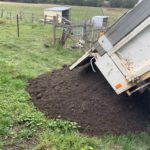
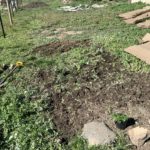
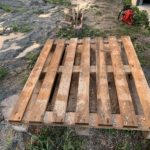
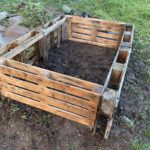
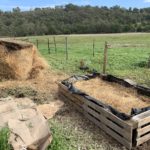
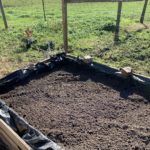
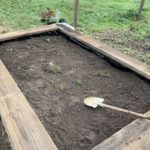
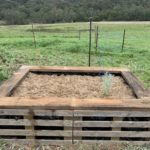
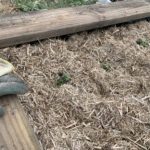
With us all home we got a lot done! From fencing and new animal enclosures to pulling weeds away from the old well and the dairy shed and fixing the doors on the old green shed. We improved the garden with planter boxes for our veggies and planting trees. But the biggest thing was the completion of our new shed and installation of 2 huge water tanks.

Business Life:

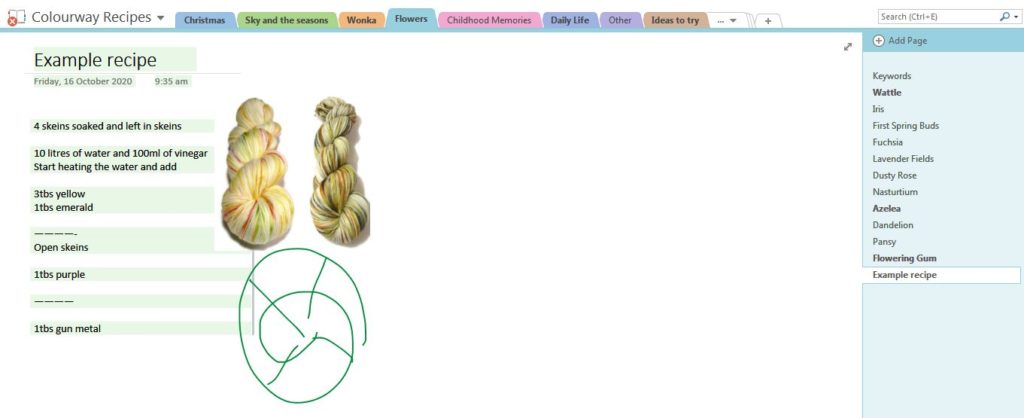
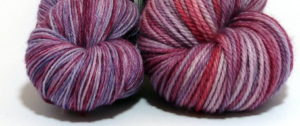
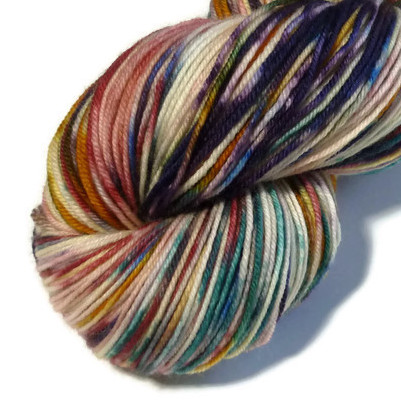
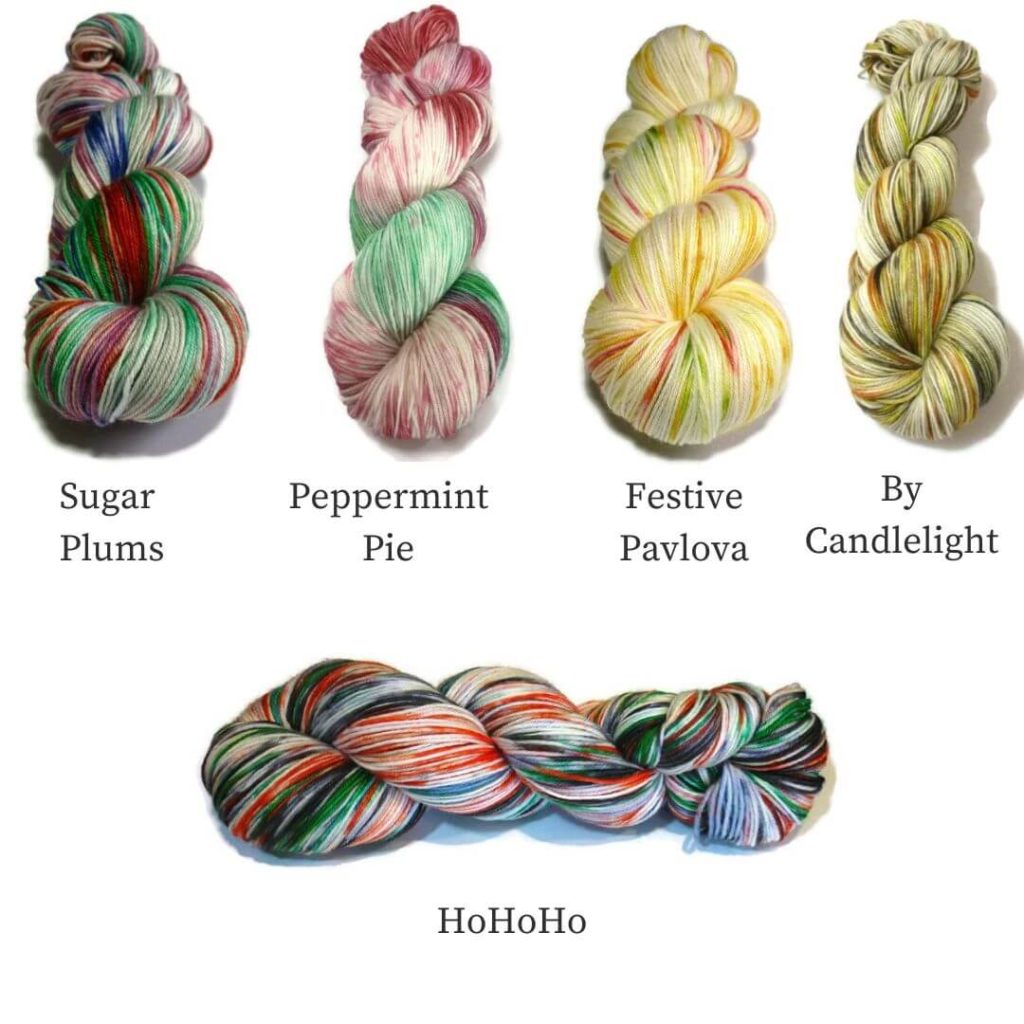
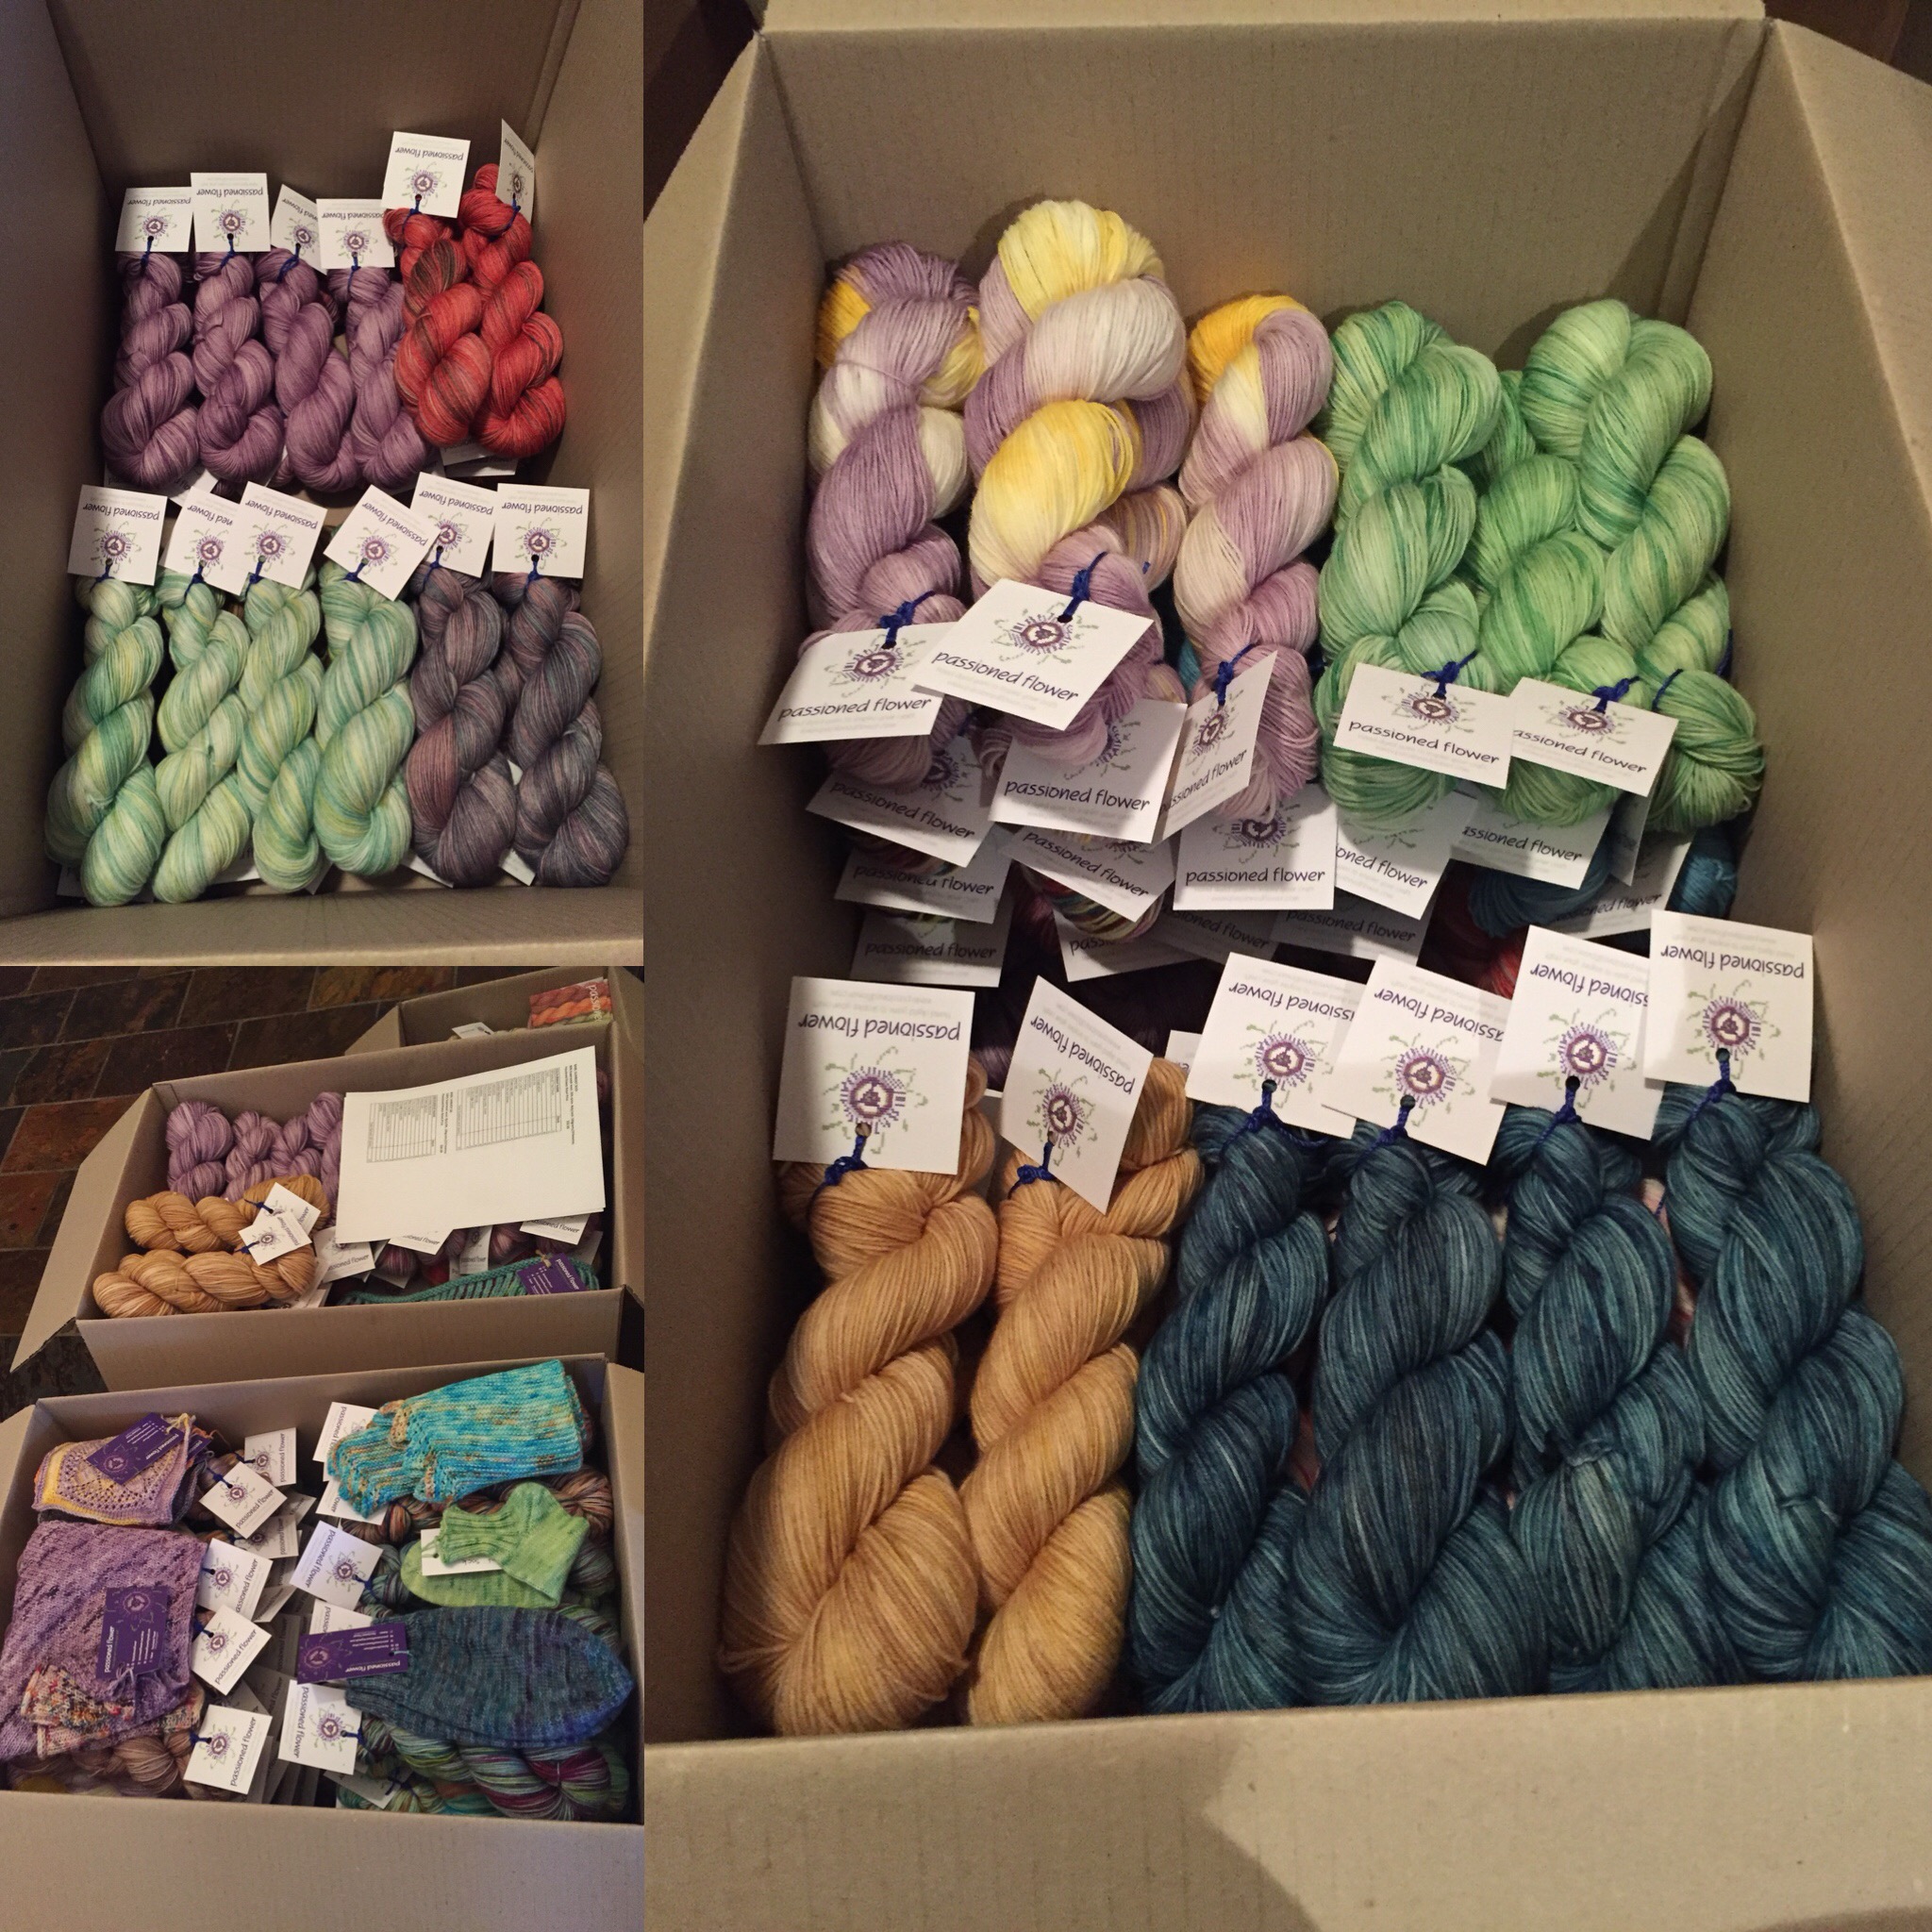
I concentrated on improving and updating my website – important when online shopping became an even bigger part of everyone’s lives. I put together a learn to knit kit, designed a scarf pattern and released my Bunch of Flowers mini skein sets.

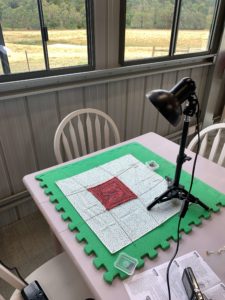
I was able to set up my office, craft space and dyeing workshop in the shed. An area that I am now really happy and comfortable with.

I also spent a lot of time planning and brainstorming for the future, using many of the resources for small business that were on offer online over the months of lockdown.

Creative Life:

Highlights were finishing three blankets (two knit & I crochet), knitting at least 8 pairs of socks and many dishcloths (I forgot to record many of these in Ravelry, I need to get better at that!), knit 2 cowls (including using my own hand spun for the first time), and 2 beanies. When I look back I’m actually surprised at the lack of craft that I finished. Much more time was spent on the shed and on farm work.

Overall:

2020 has been a memorable one! Certainly not what I expected at the beginning of the year. The COVID-19 pandemic has changed everyday life. I think there will be some long lasting impacts, while other parts of life will go back to “normal”. From here I want to build on the positive things, on the hard work I have put into the farm and my business and continue to knit, crochet & spin.

2020 – Quite the year!! Read More »

Playing with colour – the inspiration and creativity of dyeing yarn

My process for creating a new yarn colourway is driven either by an idea or an urge to use a particular colour combination – from there my imagination, as well as my dyeing supplies, work together to achieve the end result.

Many of my colours are inspired by something I have seen in nature. A flower or a sunrise are perfect examples of things that spark my creativity. I know that if I can recreate those particular colour combinations that they will be visually pleasing as nature always gets it right.

One of my very first colours was Fuchsia. I saw the pretty little purple, pink & red flowers in my garden and thought I would try to make my own version on yarn. I had to think about the tone, the order and the amount of each colour to get the right balance.

But then there are colours that are more out of a need to fill in a colour gap in my range, wanting to create with a certain dye or a custom request. In these cases often it becomes more about looking at the yarn and the colours and combining what looks good. Then using the colour to inspire a name and back story.

A colourway that stands out that started as an experiment, that then became the catalyst for a collection, is Pure Imagination. I had an idea to try a particular way to dye a skein of yarn and I wanted to use a number of colours together. So I gave it a try. I rolled the skeins into spirals in my dye pan and just poured colours over different sections of the yarn, flipped the skein and repeated. I was not sure how the colours would blend, how much of the skein would end up with colour on it and if the combinations would work. The result was one of my now best selling colours. It also led me to create an entire Wonka series of yarns, that were all much more planned out and designed to be a set.

When I first started out dyeing I had only four colours of Jacquard Acid dyes (Pumpkin Orange, Purple, Periwinkle and Russet). These were part of a gift that started me on my entire yarn dyeing adventure. While I was learning it was fun to use these colours on their own and also experiment with how I could mix these colours to create many more. As I started to blend and create my own colours I researched the best dyes to purchase for mixing and different ways to dye yarn. A really interesting article by Space Cadet Yarn discuses their use of only primary colours in their dye process, and it inspired me to broaden my creativity by limiting the number of dyes I would work with. I think it’s very powerful to create your own colours and not be limited by pre-manufactured colours.

I chose a selection of primary colours (as listed by Jacquard):

Sun Yellow (primary)
Pink (primary)
Cherry Red (primary)
Sky Blue (primary)
Turquoise (primary)

And then added a few addtional colours to round out my collection:

Emerald
Teal
Brown
Gun Metal
Jet Black

I mix each colour to my own specific depth of shade (not necessarily according to the packet recommendations) and then mix these colours to produce my own end results.

Since then I have not added any additional powered dyes to my range and I don’t have plans to add any in the future. I like the challenge of blending my own colours to create something unique, it adds to the creativity and thought process of dyeing. I also believe that by limiting the dyes I use, even though my colours are all quite different, they fit together as they are created from the same 14 colours.

Playing with colour – the inspiration and creativity of dyeing yarn Read More »

Creating our new garden

The thought of creating a beautiful and productive garden has always been a dream of mine.

I have tried to grow food in the garden of every house I have lived in. Sometimes I was successful, sometimes not. They were never as big or as productive as I would have liked. I didn’t have the time, resources, space or skills to create what I envisaged in my head.

Now that I’m on the farm and the shed is complete there is the opportunity to build the type of garden that I have always wanted. A combination of productive veggie and fruit patches, with cottage flowers and native plants. Drawing on principles of companion planting and using indigenous plants to attract birds, bees and butterflies. Bringing together colours, textures and fragrances to create a beautiful and inspiring garden.

Right now the area outside the shed is basically part of a paddock, which has been fenced off to create space around the shed. Some of the ground is hard and filled with rocks (remnants from when my Pa used this part of the farm for a dairy and shearing shed) some of the soil is amazingly rich and fertile (from years of manure) and then other sections are clay. This represents a challenge, but I think it will result in a very unique garden that will expand and grow based on what works in each area of the space. My philosophy has always been a weed is only a weed if it’s growing where you don’t want it and that no plant should be fussed over too much so that if it grows and does well it stays and if it struggles it should be pulled out and replaced with something else.

This garden project is quite large and a little daunting. Initially it left me a bit paralysed. I wasn’t sure exactly where to start, because I was looking at it as a whole instead of a series of small sections that will come together.

I was also waiting for water tanks to be delivered, soil to be moved by an excavator and fences to be built. But if I kept waiting for things to be perfect, then I was never going to start.

Autumn is a great time to plant, the earth is still warm, the days are fairly mild and sunny and the evenings are cool and moist without being too cold, wet or frosty. So if I missed this window of time to plant I was potentially going to have to wait until early spring or even next autumn. I can make do for now without water tanks, I can hand dig areas and accept the natural fall of the land (and leave other areas to be dug with an excavator later) and enough of the fencing has been done to define the area.

So how did I start? I just chose a spot and started to dig. I removed the weeds and created a fairly clear and level space for a garden bed. Initially I thought that I would just plant everything directly into the ground and use old bricks and logs to border each bed. But after starting to dig, researching veggie gardens and chats with the family it was decided that we would repurpose old pallets into rectangle planter boxes.

view of the paddock before the shed was built
The paddock before the shed
view of the old slab - where the dairy and shearing shed used to be
The old slab (milking & shearing shed)

They are the perfect size, to hold plenty of plants, while still being small enough to be able to reach the middle of each box. They are a simple construction of pallets cut in half and screwed together. We lined the inside with weed matting, then added a lot of hay (getting inside and stomping it down to create a firm layer), then topped it with a premium soil mix and finally covered with sugar cane mulch to keep in the moisture and stop the weeds. The final touch was to add lengths of wood across the edges of the box – this seals up the holes, secures the weed matting and provides a nice wide bench around each box for sitting and enjoying the garden and also useful for when working in the patch.

So far we have made and filled two boxes. With plans to build at least another two the same size and then perhaps also some smaller square ones to feature small trees or shrubs.

The first crop will be experimental as it is hard to know how the plants will react to the sun, soil, water etc. But we have made a start. Our selection of plants include: peas, rocket, dill, coriander, leek, spinach, cabbage, spring onion, and thyme.

Inspired by the progress of the planter boxes I also started on the first section of the garden for flowers. I chose a small sloped section between two of the doors of the shed, partly because it was a small space to start with but also because I like the idea of having a pretty and established section of garden in view from inside the shed and as I enter.

This area I have planted directly into the dirt. I created a border from bricks and old wood salvaged from the farm. I dug up the weeds, cleared the space and then mixed in some of the good soil before planting and mulching.

So now progress has been made and I feel that it will be easier to expand and improve on what is now in place. I know where I want to make a path and where additional future planter boxes will go. I can now plan out the entry way to my workshop space and where some larger trees should be planted.

Creating our new garden Read More »

Creating Christmas Yarn

Every year, since I started Passioned Flower, I have created a Christmas colourway. There is something about the festive season that brings so much joy and inspiration and there are so many ways to express that through yarn colour choices.

Not always traditional, it’s fun to find a combination that represents Christmas in a fresh or interesting way. Even the mixing of new reds and greens can give an entirely different feeling.

This year I created HoHoHo – a new play on red, green and black. I also recorded a behind the scenes video as I created the colour.

The five colours I've created for Chrsitmas

Creating Christmas Yarn Read More »

Different Yarn Blends – Milk Fibre and Bamboo

As a hand dyer it is interesting to research and try out different blends. This can be to source new yarn bases for the shop or just to experience and experiment what is available.
I researched the origins and processes involved in bamboo & wool blends as well as yarns containing milk fibre. It was especially interesting to dye each of the blends alongside a wool nylon blend to compare the results.
First a little about these different fibres:

Milk Fibre

As the name suggests milk fibre comes from milk. It is created as a by-product of processing skim milk. A chemical process is used to extract, dry and then turn a powdered protein in to a fibre. It was first used during the 1930s and 40s to make wool and cotton go further. It is said to have anti-bacterial qualities and take colour very well (the protein in milk fibre was also known to be used in early outdoor paint).

Bamboo

Yes, the grass that Panda’s eat! The insides of the stems are processed down and made into a fibre, it has a shiny finish similar to silk. It gives strength when combined with wool, while keeping a drape and breath ability.

My Experiment

In order to test out the new blends I put all three in to the same dye bath (labelled with brightly coloured yarn that would not change colour) and did two different dyeing methods.
Batch 1
First batch I dyed up in Strawberry Shortcake (a repeatable colour that I already have in the shop). This was so that I could compare how the colour takes between my current sock yarn (Gumboot Sock) and the three new bases. Look how differently it comes out across the yarns!
LtoR: Gumboot Sock, 16% milk fibre/85% wool, 50% bamboo/50% wool, 60% bamboo /40% wool
Batch 2
Next I chose to have a play. I tried some shallow immersion dyeing and squirted some dye onto different sections of the yarn, to see how the dyes would absorb and blend on each fibre. Again, some extremely varied results.
LtoR: 16% milk fibre/85% wool, 50% bamboo/50% wool, 60% bamboo/40% wool
The milk fibre yarn took up the dye a lot more than the bamboo, it is quite vibrant and dark. Of the other two, the one with the lower bamboo content seemed to take the colour better, but the one with more bamboo is a lot shinier and has more drape (this could also be due to the spinning method of the yarn as well, the 50/50 blend is a crepe style yarn, which is a bit more dense). The sheen and drape of the bamboo yarn is really lovely.
Once my experimentation was done I kept the two milk fibre skeins as they were and overdyed the lighter bamboo skeins with a silver grey so i could use them in one large project and have them look pretty much the same.

Different Yarn Blends – Milk Fibre and Bamboo Read More »

Pop-Up at Unwind Craft Cafe

For the past 2 months I have had the pleasure of having my yarn featured as a pop-up at the Unwind Craft Cafe in Keilor East, Melbourne.

The cafe is the perfect place to sit and knit or crochet, talk about projects with like minded people and enjoy amazing scones. The staff are so friendly, welcoming and open to chat.

The opportunity to work with these lovely people came about because a friend and I decided to meet there to sit and knit for the day. We got to talking, they liked the yarn I was knitting with (which happened to be my own hand dyed yarn) and before I had left the store that day I had all the information on their pop-up program.

As a small hand dyer, getting the opportunity to feature in a brick and mortar shop is a huge and exciting opportunity. Not only does it expose new customers to my business but it also gives me insights into what colours are popular and the potential projects that purchasers are interested in making.

It has been exciting to participate in their Sit & Stitch evenings and talk to crafters who are buying my yarn. I have helped to choose colours for projects, talk about things that I have made and encourage others try a new projects.

Pop-Up at Unwind Craft Cafe Read More »

New Website

Hi everyone!
I have been doing a lot of behind the scenes work lately, updating the website. I am very excited to unveil the new look. I hope you like it.
I am working on adding a shop right here on the Passioned Flower website, and hoping to have that ready shortly. There may also be some different products added to the shop, so be sure to watch out for that.

Mini Skeins
Tequila Sunrise
Pure Imagination
Projects
Passioned Flower
Azelea
Dusty Rose

New Website Read More »